Flat lays allow customers to focus on what matters most: the product itself. Fabric, color, graphics, and construction are easy to see, and collections look clean and organized when displayed together.
At Shootify, flat lay photography is not treated as a single technique, but as a system. The setup, styling, and lighting are chosen based on the product, the brand, and how the images will be used across the website, social media, and campaigns.
Types of Flat Lay Photography
Not all flat lays are the same. The right setup depends on the garment and the visual goal. A professional flat lay photographer selects the approach that best supports the product.
Tabletop Flat Lays
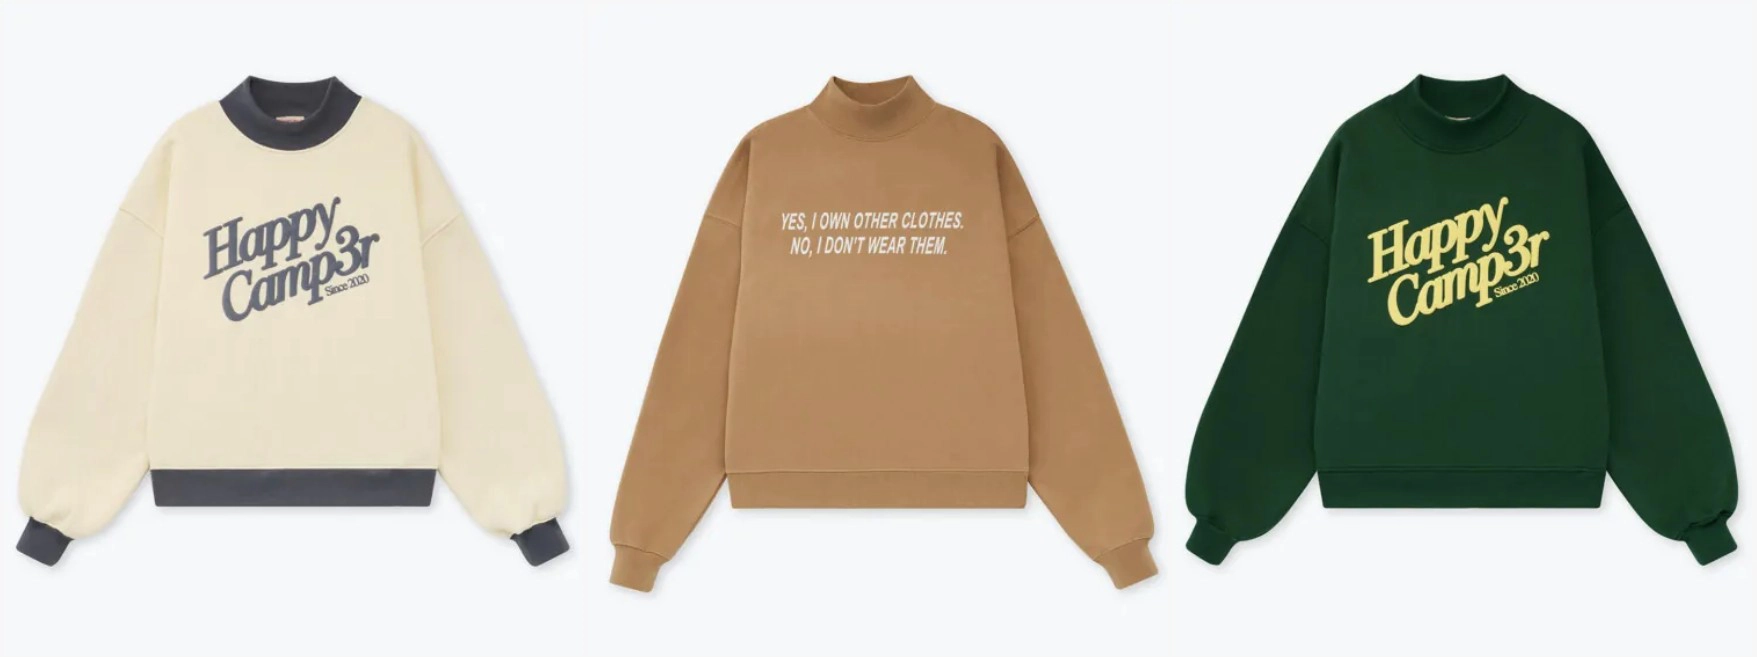
This is the most traditional flat lay setup. The garment is placed flat on a table or board and photographed from directly above.
Tabletop flat lays work well for many products, especially T-shirts, hoodies, and simple tops. They create a clean, balanced look and are easy to keep consistent across large collections. This setup is often used when symmetry and clarity are the priority.
Hanging Flat Lays
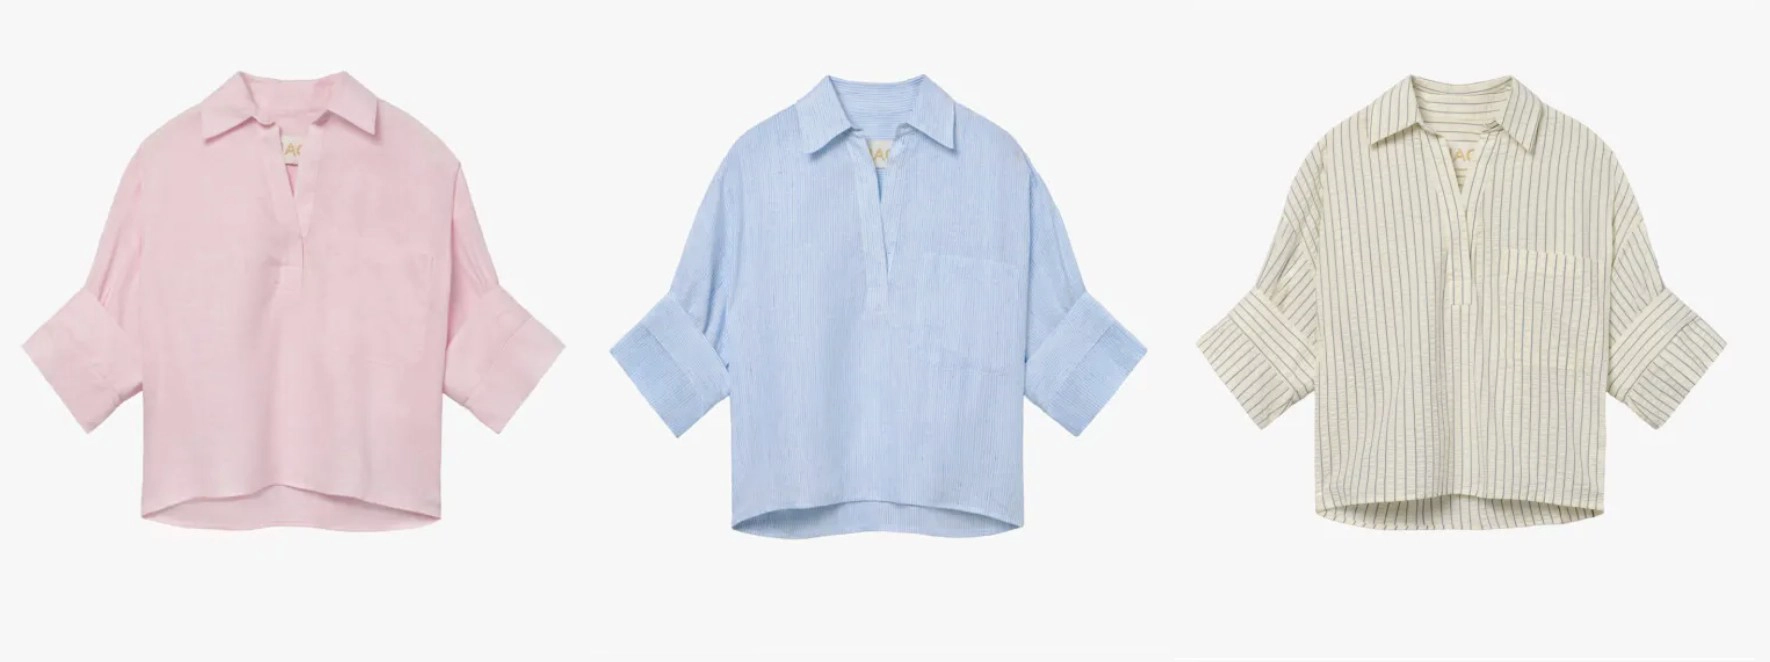
In a hanging flat lay, the garment is suspended on a wall or board rather than lying flat. Gravity allows the fabric to fall naturally, helping to show length and drape.
This approach works particularly well for dresses, coats, and longer garments. Hanging flat lays add a more natural feel without using a mannequin, and are useful when fabric movement is part of the design.
Pinned Wall Flat Lays
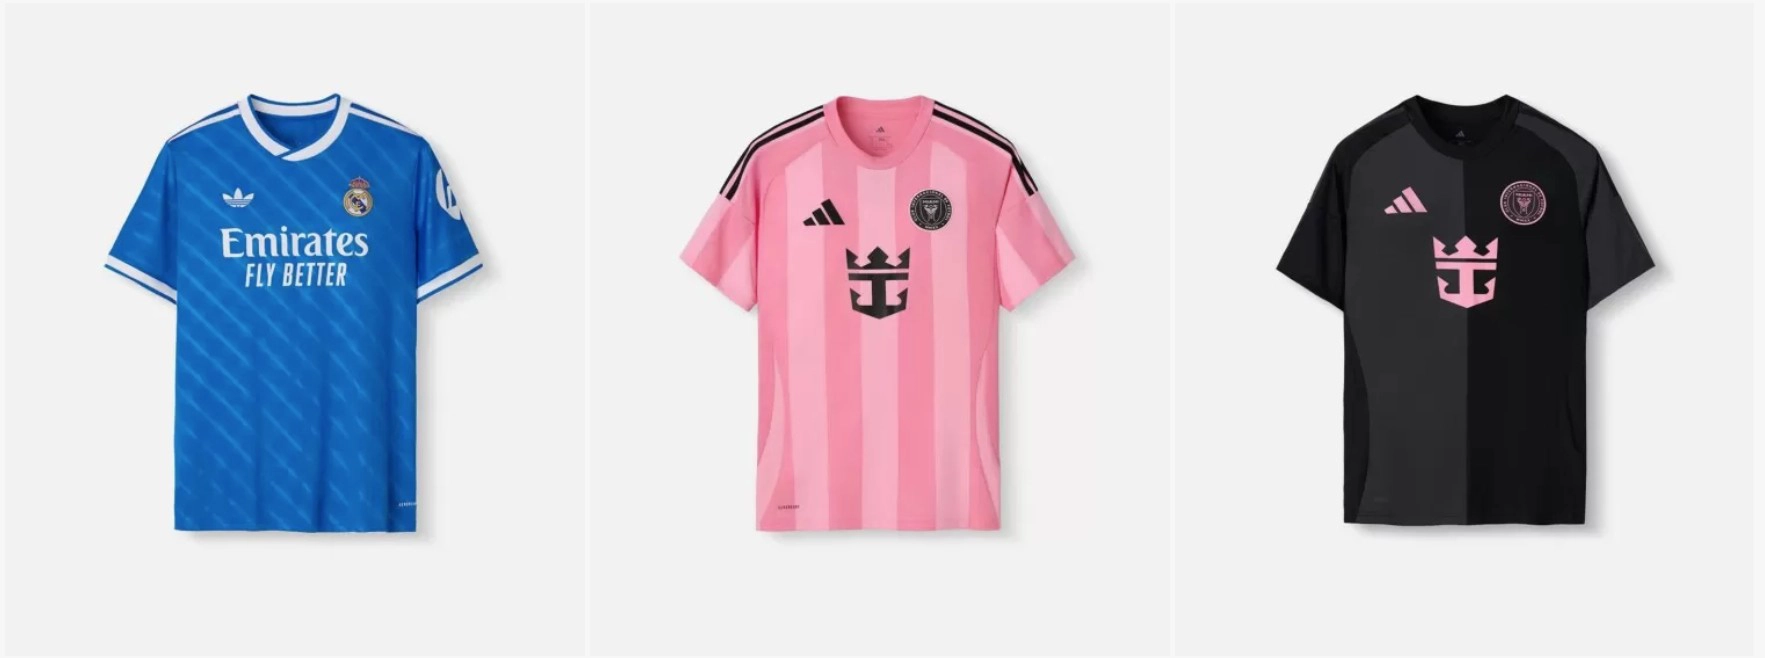
Pinned wall flat lays are a more controlled version of hanging flat lays. The garment is carefully pinned or taped to a vertical surface to create structure and symmetry.
This technique removes uneven folds and creates a clean, front-facing presentation. The result is similar to a ghost mannequin image, but achieved through flat lay styling. It’s a strong option for garments that need clear shape and sharp lines.
Each flat lay type serves a different purpose. Some brands use one method consistently, while others mix techniques based on the product. For example, tabletop flat lays may be used for most items, while pinned wall or hanging flat lays are chosen for pieces that benefit from added structure or natural drape. The focus is always on showing the garment in the most effective way.
Styling Approaches for Flat Lays
The setup is only the starting point. Styling is what turns a flat lay into a professional product image.
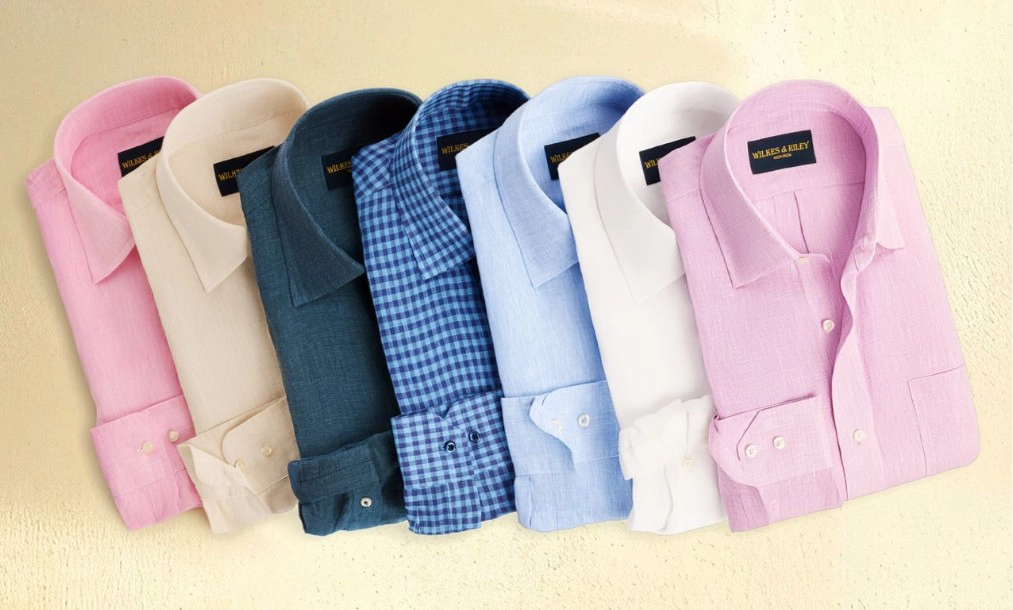
Grouped Flat Lays
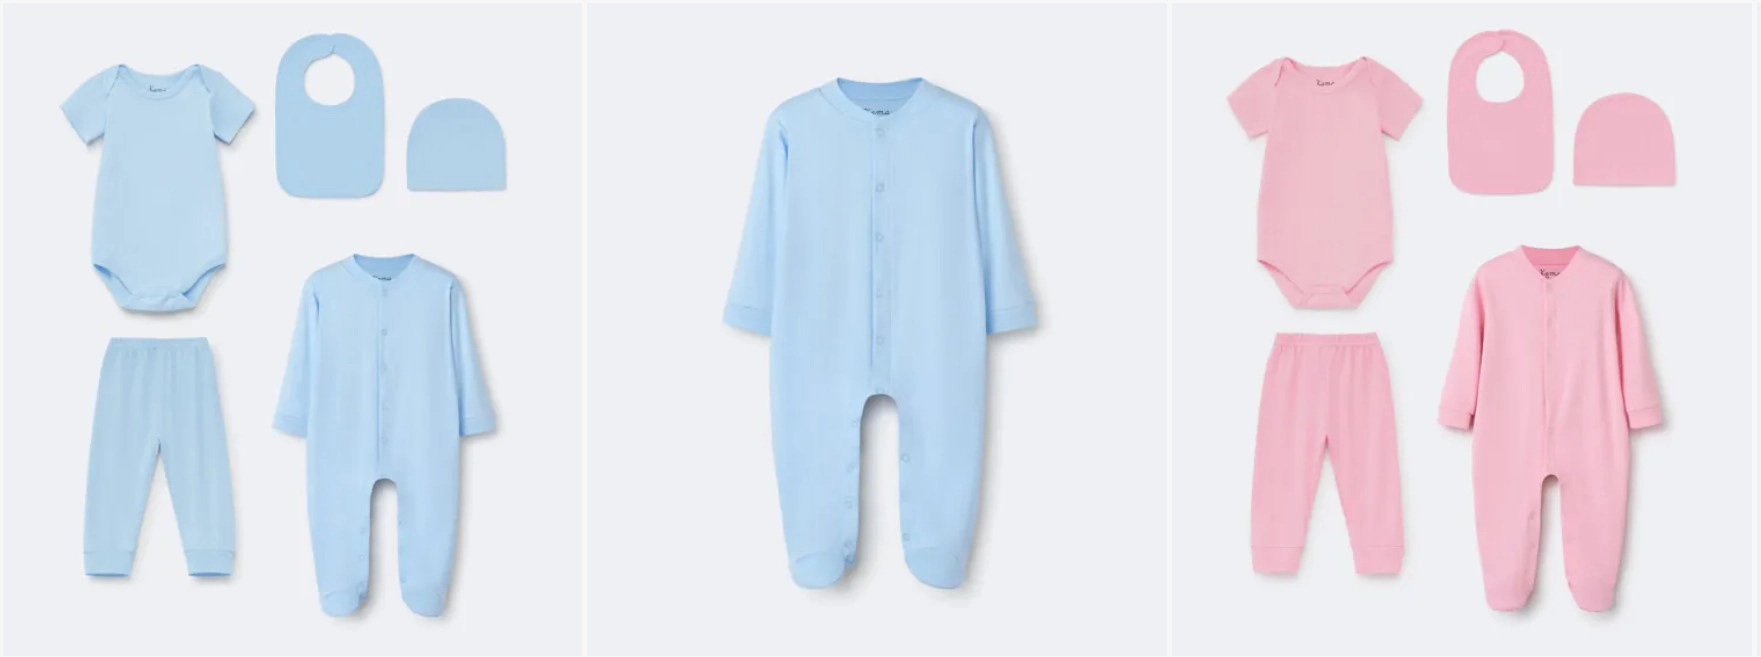
Grouped flat lays show multiple products in one image. This can be a full outfit, coordinated pieces, or the same item in different colors.
Grouped images are useful for showing collections and how products work together. They are often used on category pages, lookbooks, or marketing content, as long as the layout stays clean and product-focused.
Styled Grouped Flat Lays
Even a single garment benefits from thoughtful styling. Small adjustments — like shaping a collar, folding a sleeve, or controlling how fabric sits — can make the product feel more natural and wearable.
The goal is not to over-style, but to present the garment in a way that feels intentional and aligned with the brand.
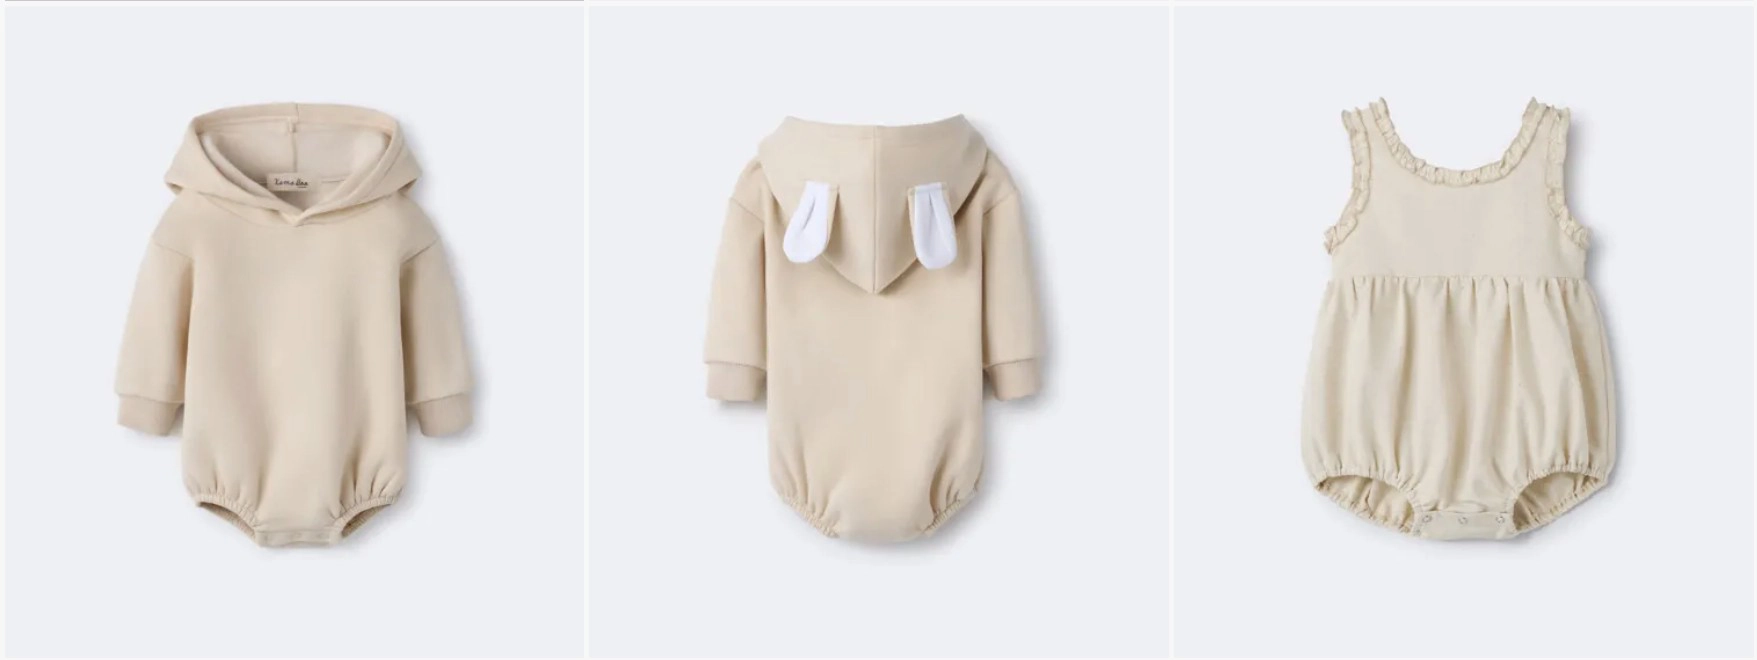
Stuffed Flat Lays (Adding Volume)
Flat lays can sometimes look too flat if not styled correctly. To avoid this, Shootify uses filler materials and custom shapers to add subtle volume and structure.
Stuffing helps jackets, hoodies, sweaters, and dresses look more dimensional. The garment appears fuller and more realistic, without using a mannequin. All supports are removed in retouching, leaving a clean final image.
This styling is used for Zara flat lays.
Consistency, Shaping, and Tools: Why They Matter
Great flat lay photography comes down to details. Three things make the biggest difference: consistency, proper shaping, and the right styling tools.
Consistency
Consistency is what makes a website or catalog look professional. When every image follows the same visual rules — background, lighting, spacing, and scale — the collection feels intentional and easy to browse.
This applies to:
- Background color
- Lighting and shadow level
- Product size and placement
- Editing and color accuracy
Shaping
Shaping is one of the main differences between DIY flat lays and professional work.
Clothing rarely looks good when simply laid flat without adjustment. Every fold, curve, and edge should be intentional. Shirts may need the waist shaped, sleeves adjusted, or collars positioned correctly. Pants need straight legs and clean lines. Jackets and structured garments often require internal support to hold their form.
Good shaping makes the product look natural, balanced, and true to how it’s meant to be worn. Without it, garments can appear distorted, uneven, or sloppy.
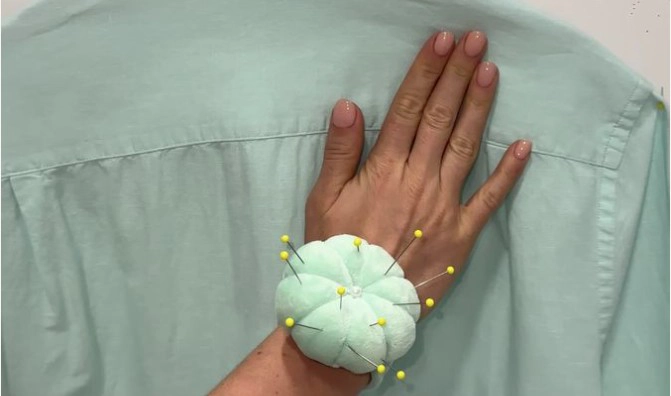
Styling Tools and Preparation
Professional flat lay photography relies on simple but essential tools. Pins, clips, tape, foam inserts, and shapers are used to control fabric and proportions. These tools allow garments to sit exactly as intended during the shoot.
Steaming is also critical. Wrinkles become more visible under studio lighting, so every product is prepped before shooting. Clean lines, smooth fabric, and controlled shaping all contribute to a polished final image.
After the shoot, retouching removes any visible pins or supports, leaving a clean, natural-looking result.
Together, consistency, shaping, and proper tools ensure flat lay images look professional, clear, and aligned with the brand — across the entire collection.
How We Decide Styling Direction
Strong branding is built as a system, not image by image. Flat lay photography is only one part of how a brand is presented, and it should work together with everything else — your website, social media, and on-model photography.
At Shootify, styling direction is defined by looking at the full visual picture:
- How the brand looks on the website
- How images appear on social media
- Whether products are also photographed on models
- What the long-term visual style should be
Shootify’s Personalized Flat Lay Process
Every brand and product is different, and flat lay photography should reflect that. At Shootify, the process is never one-size-fits-all. Each project is built around the product, the brand, and how the images will be used.
Forms and Shapers Built for Each Client
Different garments need different support. Shootify uses a variety of forms, foam inserts, and shaping tools to control fit and proportions. When needed, custom shapers are created specifically for a client’s products.
Before shooting, every item is:
- Unpacked and inspected
- Steamed to remove wrinkles
- Styled using pinning, clipping, or stuffing techniques
Custom Lighting for Every Brand
Lighting is adjusted based on fabric, color, and brand style. Dark fabrics, shiny materials, and textured garments all require different lighting approaches.
Once a lighting setup is defined for a client, it is reused for future orders to maintain consistency. This ensures colors stay accurate and the catalog looks uniform over time.
Clear, Ongoing Communication
The process is collaborative. Clients can share references, styling preferences, background choices, and shot lists. For larger or first-time projects, test images can be provided to confirm direction before moving forward.
Feedback is always welcome, and adjustments are made as needed. The goal is clarity at every step — no surprises.
Creative Direction (Optional)
For brands that need help defining their visual style, Shootify offers creative direction as an add-on service. This can include:
- Styling concepts
- Background and color guidance
- Direction for seasonal or campaign content
Frequently Asked Questions (FAQ)
How many photos do I need per product?
There is no single rule that fits every product. The number of flat lay photos depends on the design, details, and how much information the customer needs to see to feel confident.
Some products can be shown in just one photo. For example, a simple T-shirt with a graphic only on the front may only need:
- One clean front flat lay
- Optionally, one close-up detail of the fabric or print
- Front view
- Back view (if there are details or graphics)
- Detail shots such as fabric texture, zippers, trims, inner lining, stitching, or special construction
Flat lay or ghost mannequin — which one should I choose?
It depends on the product itself and what you want to communicate to your customer.
Ghost mannequin photography shows the product as if it is worn on a real body. It helps buyers understand fit, proportions, and how the garment sits when worn. This works especially well for:
- Dresses
- Suits
- Coats and jackets
- Structured garments where fit and silhouette matter
- T-shirts
- Hoodies
- Casual tops
- Products where fit is less complex and fabric or graphic design is the main focus
- A wide variety of ghost mannequin forms for better fit per product
- Cleaner, more accurate silhouettes
- Consistent sizing and proportions across collections
How much does flat lay photography cost?
Flat lay photography pricing varies widely across the market, depending on quality level, styling depth, and production model.
Many large, automated studios (such as Soona and similar platforms) focus on speed and standardization. Their flat lay pricing is often lower upfront, but typically includes:
- Limited styling control
- Predefined setups
- Minimal shaping or volume styling
- Add-on fees for retouching, revisions, or custom requests
- Product complexity
- Styling time (simple vs. shaped or stuffed flat lays)
- Number of detail shots required
- Volume of images
- Clear, upfront quotes
- Volume-based discounts for larger catalogs
- No hidden fees
- Retouching included
- Real human styling and quality control
What does Shootify provide as part of its service?
Shootify is a full-service flat lay photography studio. That means everything is handled from start to finish, and you receive ready-to-use product images.
Here’s what’s included:
- Product prep & styling — Once your products arrive, each item is unpacked, checked, and steamed. Garments are then styled using pins, clips, fillers, or custom forms to achieve the right shape and fit, based on the agreed direction.
- Professional photography — Products are photographed in-studio using high-quality equipment and custom lighting. We shoot according to your shot list — front, back, and detail images as needed — while keeping scale, angles, and spacing consistent across the collection.
- Retouching & cleanup — All images are retouched to remove pins, dust, or small imperfections. Color, exposure, and background are refined so the final images look clean, natural, and consistent with the rest of your catalog.
- High-resolution final files — You receive high-resolution images in the formats you need (JPEG, PNG, TIFF, white or transparent background). Files are clearly named and ready to upload — no extra work required on your end.
- Ongoing support & communication — We help you decide how many images make sense per product, advise on styling direction, and stay available if you need adjustments or have questions. Rush timelines and custom requests can be discussed upfront.